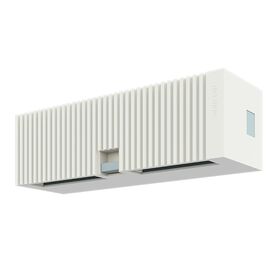
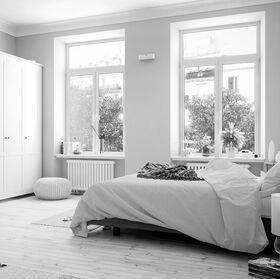
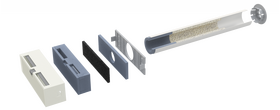
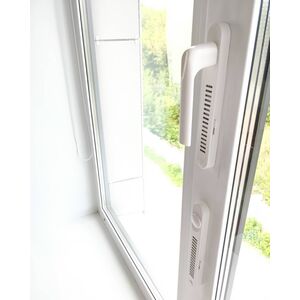
The Norvind optima wall supply valve creates natural supply ventilation in the room, which allows you to solve the problem of mold, stuffiness and condensation on the windows once and for all. Norvind optima ventilates instead of an open window, keeping the house warm.
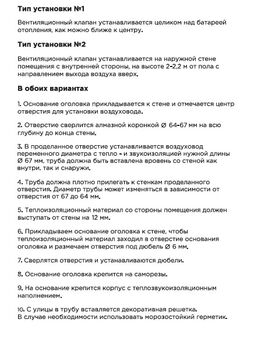
Norvind optima supply air damper can be installed in the wall in two options to choose from:
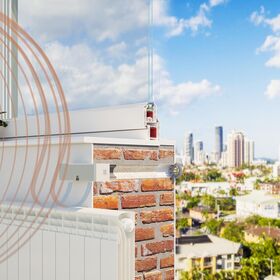
1. Above the heating radiator with the direction of air flow downwards: the outside air will be heated by the battery.
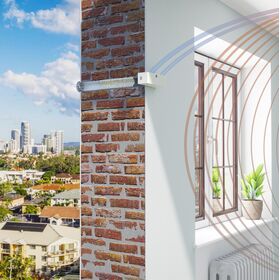
2. Near the window at a height of 2-2.2 m from the floor with the direction of air movement upwards, where the incoming street air mixes under the ceiling with warm air in the room.
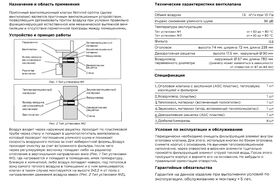
Due to the difference in pressure, the air flow from the street through the channel in the wall is drawn into the room. The valve is equipped with a class G3 pre-filter that does not require special maintenance. The device works without electricity.
The vent can be opened and closed, and the volume of incoming air can be adjusted by smoothly moving the damper. An important condition for the correct operation of the Norvind optima valve is the serviceability of the exhaust ducts in the kitchen and bathrooms.
Problems that Norvind optima solves:
- sweating windows;
- mold;
- spirit.
Benefits of Norvind optima:
- installed at any stage of construction;
- compatible with all ventilation systems;
- installation takes 40 minutes;
- work in the temperature range from -50o to +80oC;
- do not require special maintenance;
- work without electricity.
Installation instructions:
1. The base of the head is applied to the wall and the center of the hole for installing the duct is marked.
2. The hole is drilled with a diamond crown Ø 64-67 mm to the full depth to the end of the wall.
3. An air duct of variable diameter with heat and sound insulation of the required length Ø 67 mm is installed in the hole made, the pipe must be inserted flush with the wall both inside and outside.
4. The pipe should fit snugly against the walls of the hole made. The diameter of the pipe can vary depending on the hole from 67 to 64 mm.
5. The heat-insulating material on the side of the room must protrude from the wall by 12 mm.
6. We attach the base of the head to the wall so that the heat-insulating material enters the hole in the base of the head and mark the holes for the dowel Ø 6 mm.
7. Holes are drilled and dowels are installed.
8. The base of the head is attached with self-tapping screws.
9. A body with heat and sound insulating filling is attached to the base.
10. A decorative grille is inserted into the pipe from the street. If necessary, use frost-resistant sealant.
Solving complex production and technical problems in the field of heating and ventilation. Making high technology accessible.
- Accredited design engineers will solve the design issue for you (We work with the largest design institutes)
- A professional installation and maintenance service with many years of experience will help you perform construction and installation work, make commissioning, installation supervision.
Today we have experience in deliveries to the most remote regions of Russia and the CIS by land, air and sea transport.
No reviews found
